
Simply understanding how to use a few key camera settings and pieces of equipment can make all the difference.
It can’t be stressed enough: Great photos help sell homes. The National Association of REALTORS®’ own research shows that well over 90 percent of home shoppers look online for at least a part of their search. For almost half of all buyers, accessing digital listings is the very first step in their process. And while there’s been much speculation as to the homebuying behaviors of millennials, this much is known for sure: Digital natives are much more comfortable with browsing home listings from mobile devices.
None of this is breaking news, but it does highlight just how important digital representation can be when you’re trying to show a home. One industry study found that when listings were accompanied by high-quality photos taken with professional equipment, they spent significantly less time on the market and fetched a premium of $3,400 on average.
Unfortunately, interior shots pose a variety of photographic challenges that are difficult for amateur photographers. Real estate pros shouldn’t be expected to transform overnight into professional camera wielders, but you can certainly benefit from a few tricks up your sleeve and some decent equipment.
Don’t Turn Toward the Light
This scenario might feel familiar: You want to show off the new windows in your client’s living room, but every time you snap a photo, the image is totally blown out. Photos with dark foregrounds and overexposed windows are a common problem that happens when ambient light from the outdoors tricks the camera’s light meter into overcompensating. A flash will balance out the lighting in the room, giving you a better shot. Alternatively, you can use your camera’s manual controls and settings. The right settings depend on the kind of equipment you have, however. For many point-and-shoot digital cameras, it’s mainly a matter of adjusting the ISO, although you may want to set the aperture to f/2.8 as well, if your camera offers that flexibility. For shots near a window, typically an ISO setting of around 400 to 800 works well, although you may want to go higher if you have particularly low light in the foreground. If you have full manual control of your camera, you can increase the shutter speed, which will allow less light into the camera sensor.
Try HDR Tonemapping
The main problem with photographing daylit interiors is that it’s difficult to balance between ambient daylight, artificial lighting, and dark shadows behind walls and in rooms away from the foreground. This situation presents a range of different exposures, and while the human eye automatically adjusts for the various levels, the camera will have a hard time making sense of it all. HDR, which is short for high dynamic range, is a common tool for handling such lighting situations. In essence, the photographer takes three or four photos in rapid succession, which are then combined into one image using specialized software like HDRSoft. Usually, one shot is at normal exposure, one is overexposed, and one underexposed. When those three exposures are combined into one, you’ll see all the details that the human eye can perceive. This results in photos with a vibrant, luminous quality.
Many point-and-shoot cameras have an exposure value meter, which can help you compose under- and overexposed shots. Generally, the meter reads a value of zero on the normal setting, +1 or +2 for overexposed shots, and —1 or —2 for underexposure. Use a tripod so you can play with different exposures while maintaining the same angle on each shot. You’ll also want to make sure automatic flash is turned off for this method. It takes time to perfect this technique, of course, but it can help you capture more detail in challenging settings.
Buy the Right Equipment
Unless you have a surgeon’s steady hands, you’re going to need a tripod in some situations. A tripod helps compose poised shots and avoid blurry photos, but it’s also incredibly important if you’re dabbling in HDR or mixing up shutter speeds. The longer your exposure time, the more likely it is that subtle movements will show up in the final product. You should use a tripod anytime you nudge the ISO to a higher range. Also, if you’re taking wide shots of the home’s exterior or enlarging your photos, even the tiniest shake will be a lot more obvious. In certain conditions, even the slightest breath can create a shaky shot. Avoid this dilemma with a lightweight foldable tripod.
You may also want to invest in a point-and-shoot with a wide-angle lens. When buyers are browsing through real estate listings, they really want to get a sense of the space. But that’s difficult to translate into photos unless you have a wide-angle option. This is important not just for exterior shots but for indoor compositions as well. A wider lens in the interior gives rooms a sense of luxury and space that you just can’t get with a regular shot. Point-and-shoot cameras that have a large range in their focal length specification are ideal; the lower the value at that end of the range, the wider the shot will be.
If you’re really interested in refining your shots, you’ll want a camera with manual controls that allow you to adjust shutter speeds on your own. Or it may be time to graduate to a digital single-lens reflex camera, especially if you want to experiment with wide-angle lenses (with focal lengths under 35mm, used for very wide shots). DSLRs have come down in price recently, especially since manufacturers like Canon and Nikon have introduced entry-level DSLRs aimed at beginner photographers. Usually these run for around $300 to $700, and they are available with bundled lens kits to get you started trading out lens lengths for sharper photos.
Get Rid of the Clutter
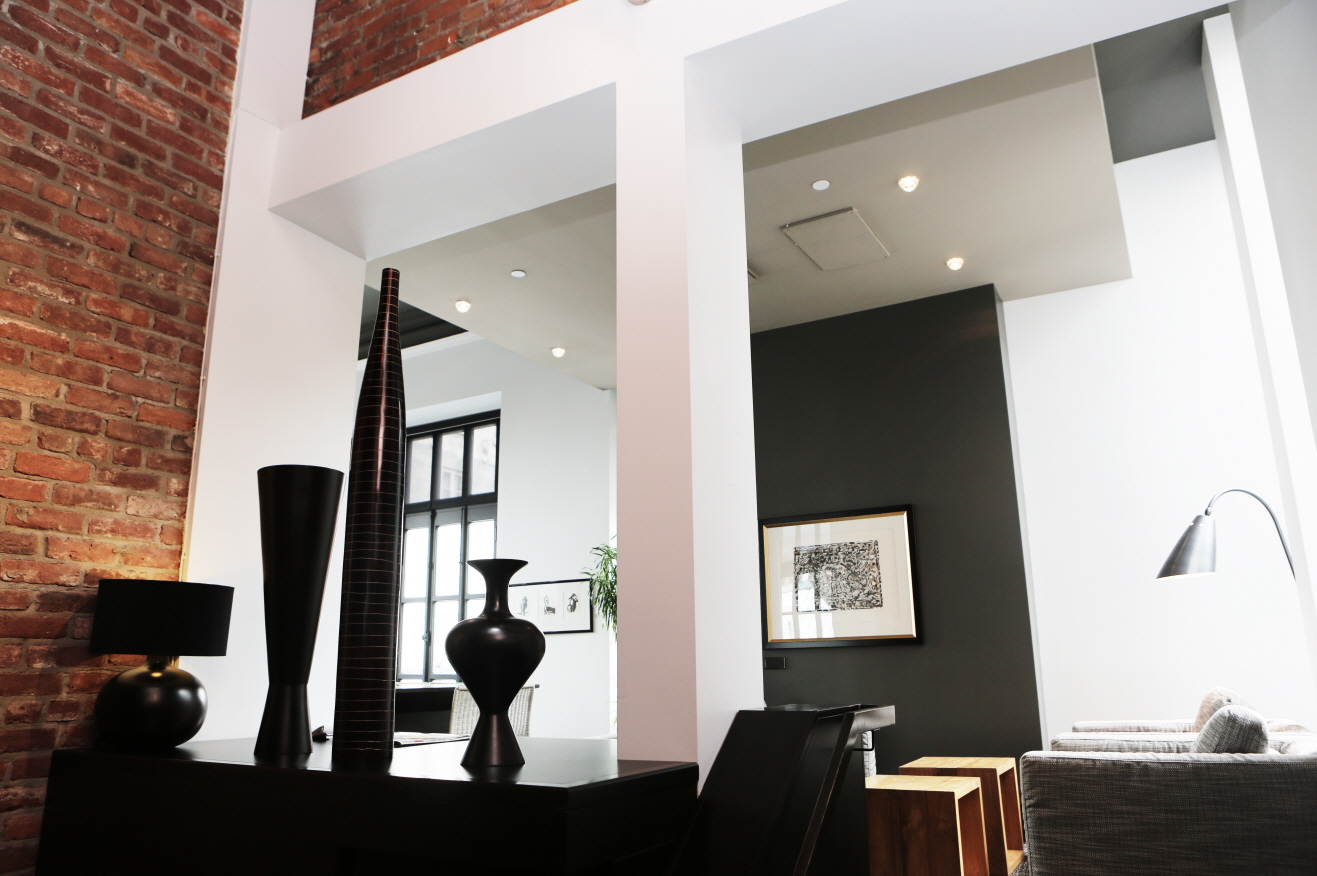
Staging photos ahead of time by cleaning off counters, tabletops, and floors can turn an ordinary listing into a real stunner. Clear your photography appointment with your client before you arrive, and tell them to clean, clean, clean. Even a detail as minute as a crooked picture frame or a rolled carpet edge can detract from your photos, so be sure to run over your shots with a fine-toothed comb. Decluttering means no power cords or vacuum cleaners in the shot—but it doesn’t mean completely sterile surfaces. A few welcoming touches like a stack of books, a vase of flowers, or a set of candles will make the space feel lived-in and homey. After all, that’s what you’re really selling anyway: a vision of buyers’ future lives in a new and welcoming abode.
Erin Vaughan is a blogger, gardener, and aspiring homeowner. She currently resides in Austin, TX where she writes full time for Modernize, with the goal of empowering homeowners with the expert guidance and educational tools they need to take on big home projects with confidence.

newstarrealty.com


