It’s an old cliché, but everyone still loves to say it: “a picture is worth a thousand words” and trust us, when it comes to enticing potential tenants into making inquires, the old cliché rings a lot of truth.
Including quality photos in your rental listings is no longer a courteous extra, it is necessary. No longer are they the cherry-on-top for a listing, photographs of a rental can be the deciding factor in many potential tenants’ eyes.
Quality images of your rental’s best features and could be the difference between finding the perfect tenant quickly, or unneeded vacancies. Knowing this, it’s important to be able to represent your property with the best quality photographs you can.
Check Your Camera Settings
Planning to DIY your way through the rental listings and take your own photos? Be sure to use a camera that has the technology to sufficiently capture your property. Using an outdated and low end camera can cause blurry or grain-filled photos that distract from your rental rather than highlighting its best qualities. Poor images not only fail to highlight your rental’s best features, they express a sense of apathy and a lack of care toward your listing, a considerable deterrent to a potential tenant.
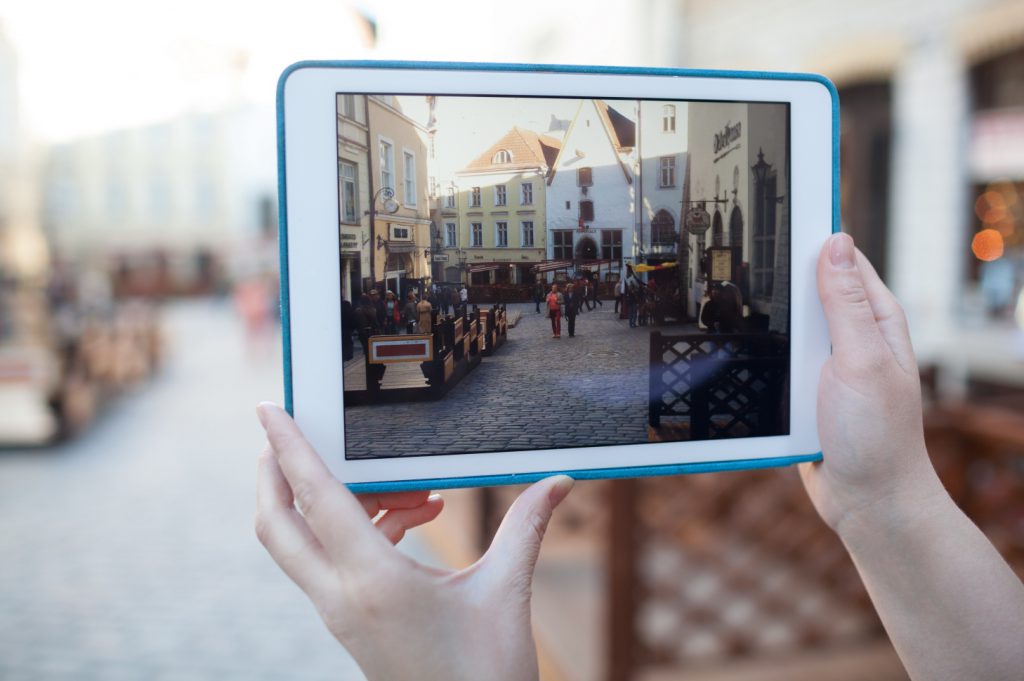
This isn’t to say that you need the finest equipment money can buy, many new cell phones have the capacity to take great images with the right planning. If you use an iPhone or your new smartphone, be sure to change your settings beforehand. Ensure that your camera’s files are not being compressed for storage on your device, and play around with the light settings to find the best representation of what your eyes see in the room.
Pro Tip:Many cameras have settings to input your light source: tungsten, cloudy, sunny ect. (often referred to as ‘white balance’) changing these settings will ensure that your rooms indoors do not look harsh and yellow or blue and dull.

Use Natural Light
While you don’t need a fancy flash or studio light to achieve a nice white and clean image of your property, you do need to be aware of the do’s and do not’s of lighting. It is impossible to showcase your freshly painted white walls, when your photos all look dim and dingy.
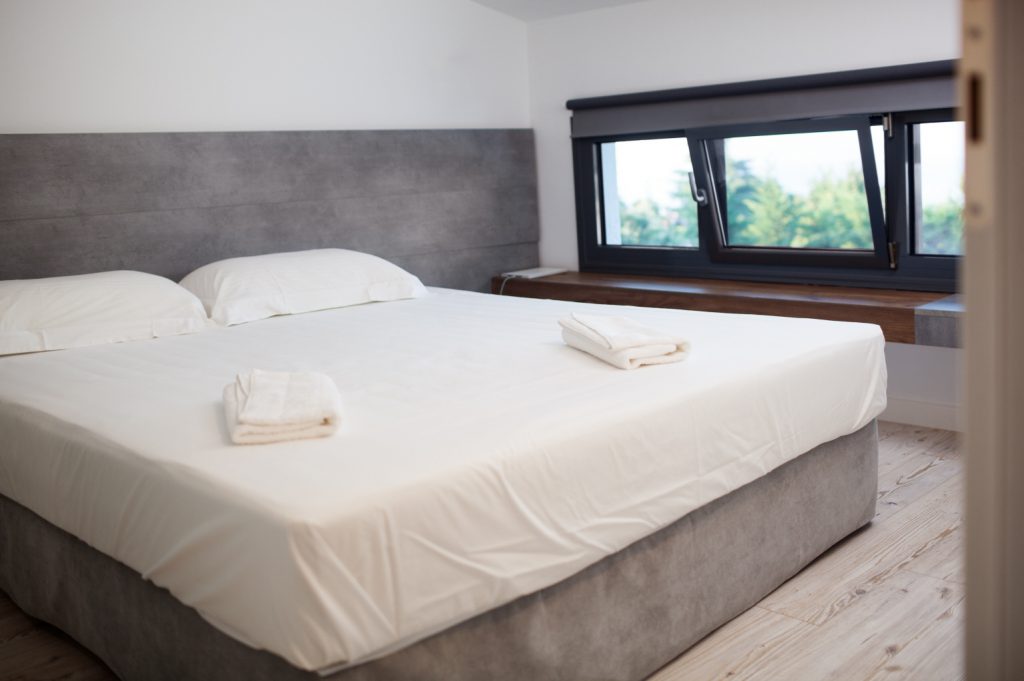
To get the best possible look, take your photos in the daytime when you have a lot of natural light to work with. While this may be hard for some rooms or apartments that do not have a lot of windows, eliminate the use of lamps and ceiling lights.
Pro Tip: Open all the curtains, and even doors to make sure your room is as light as possible before taking your picture. This will make your room look brighter, cleaner and even bigger.
Eliminate Clutter
The best time to take the photographs for your rental is after your normal reinventions and cleanings between tenants have taken place. However, if timing only allows for you to take the images mid-process, make sure to clear out any clutter, or cleaning materials. If your listing is furnished, don’t be afraid to rearrange the room specifically for the photo.
The most pleasing furniture arrangement for the photographs could be different than what logistically works best in day-to-day life—this is okay. Move the couch to new wall to create a new focal point—even if you know most tenants will prefer to face the TV hook-ups adjacent to the couch. As long as you’re not misrepresenting the listing’s assets, feel free to experiment to see ways that you re-arrange items to open the floor space and make the room more inviting.
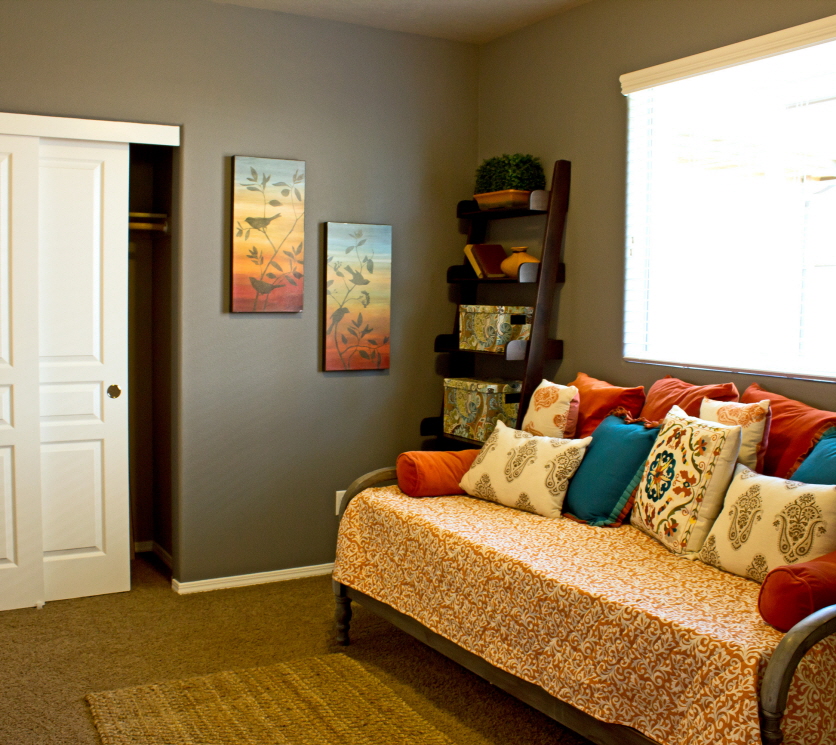
Pro Tip: Potential renters respond positively to a house that is staged during their rental search process. A staged home is decorated to look its most beautiful for the purpose of selling or renting a house faster. Staged homes allow a person to see what the house looks like when someone lives there. If your house is empty, consider bringing in a couch, side table, flowers and a throw blanket to stage a cozy living room for a photo shoot.

Get Your Rental’s Good Side
Be sure to capture all the necessary shots: the living area, kitchen, bathrooms and bedrooms, but be sure to be discerning with what you include. If your rental has particularly beautiful landscaping, be sure to include a photo of just the garden. Was the kitchen newly remolded? Take a close up of the new counters and appliances.
Pro Tip: If you recently purchased top of the line appliance for your rental, it is not necessary to a picture of the appliance logo. You future tenant will appreciate a shot that shows the whole appliance so they can see that is actually new and fits the room nicely.
When to Leave it to the Experts
In some circumstances, despite a working knowledge of your camera, and the best intentions, there can be times when it might be worth it to call a professional. If you are noticing that your photos are not the quality you hoped for, or if you have a lot of rentals, it could be time to pick up the phone and call a photographer who specializes in property listings.
For any owner, the reality is that even the best DIY-er will be outmatched by the quality that a professional can offer, and that can translate to finding a tenant sooner. Extended vacancies can cost you more than a professional’s fee.
Pro Tip: For owners of multiple listings, the time investment required to do it yourself may not be achievable—and you can check around to see who offers a multiple property discount.
The next time your rental is ready to be listed, don’t hesitate to do what it takes to include great photos. By following our simple tricks, you’ll know precisely how to display your listing in the best light possible–literally and figuratively.
Credit to Brentnie
Brentnie is a contributor for Rentec Direct. She occasionally stops by to deliver practical industry tips, providing guidance for tenants and landlords alike.

