Solar power is a booming industry in the United States. Photovoltaic (PV) solar panels are still expensive, trends in production efficiency and cost of materials point to a continued drop in the price of PV units that could make the technology accessible to middle-class incomes within a decade.
9 Crucial Steps to Prepare For Solar Power
Whether you’re chomping at the bit to add some solar units to your roof or simply investigating the scope of the process, there’s plenty to be done in preparation for the shift to solar. Here are 9 crucial steps to prepare for solar power at your home.
Step 1: Consider Your Options
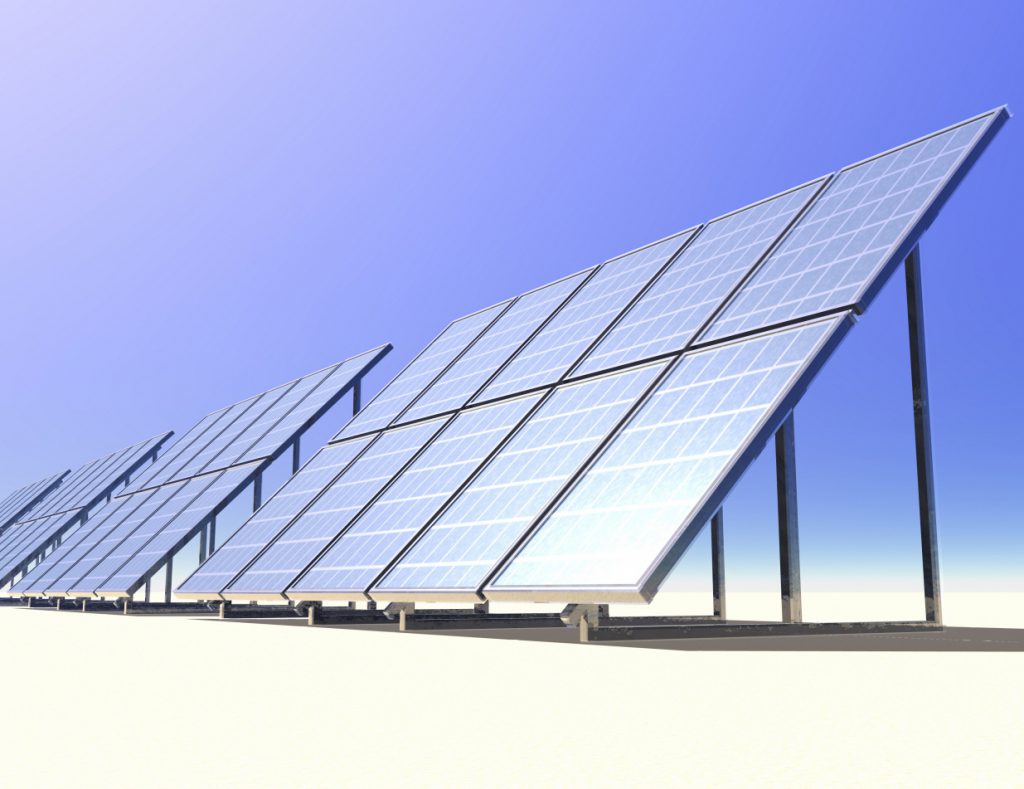
Solar energy is rising in popularity as prices continue to drop, leading to greater competition among solar contractors, installers, and manufacturers alike. Because of this, there have never been more opportunities available to consumers when it comes to solar energy.
The list of solar panel manufacturers continues to grow as parts and materials become cheaper, but speaking with a solar energy contractor about the specific goals for your solar energy plan can help determine the scope and costs of your project going forward.
Because you’ll need help from building inspectors and the power company in your community, it is advised that you consult with your local resources and find a solar installer that has experience in permitting and project management to ensure the process goes smoothly. Homeowners looking to implement solar power should order a cost/benefit analysis survey from a certified solar installer. This survey will identify roof slope, property orientation, shading, optimal placement sites, power distribution and storage (if applicable), and finally, aesthetic considerations.
Step 2: Find Rebates and Incentives
Depending on your geographic location, your local public works department or utility company may offer impressive rebates on the purchase costs or installation of solar panels on your property. A full list is available here, complete with breakdowns of individual solar energy rebate programs by state.
In some instances, such as in Texas, some utility companies will pay as much as 45% of the initial cost of installation – a huge motivating factor for homeowners, especially taking into account the additional 30% write-off at the end of tax season.
Step 3: Secure Financing
Under the Consolidated Appropriations Act of December 2015, the federal government will provide a 30% tax credit to homeowners for qualified expenditures toward a PV system. In order to secure the full credit, systems must be placed into service by 12/31/2019. The same rebates are available to businesses operating within the United States.
The U.S. Department of Energy, the U.S. Small Business Administration, and various other federal agencies offer loan programs for both homeowners and businesses seeking to invest in solar power. Compared to a conventional mortgage or residential energy efficiency improvement loan from Fannie Mae or Freddie Mac, securing a loan for energy improvements through the SBA can more than double the maximum loan amount available – up to $750,000.
As far as the costs of the panels themselves, the average cost per watt generated reached less than $0.74 in 2013, but in areas such as Massachusetts, Louisiana, and California, the payback period (or the return on investment) is fewer than 10 years.
Step 4: Make the Necessary Repairs and Upgrades
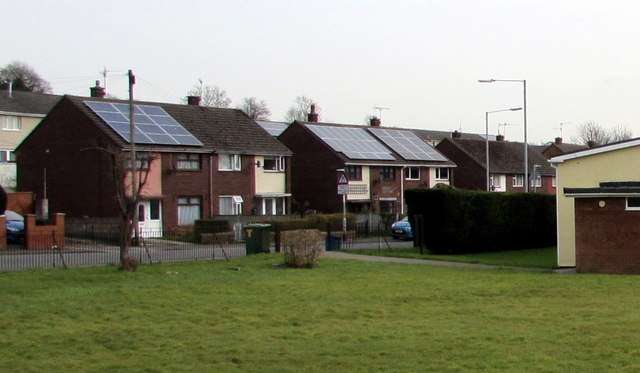
In order to prepare your property for solar panel installation, you’ll need to consult with a building inspector to ensure your roof is structurally sound and capable of housing heavy solar arrays.
Due to the weight and surface area utilized when installing solar arrays on a residential rooftop, it’s important to first check the condition of your roofing materials before committing to a solar solution. Because any repairs made to the roof after installation will require complete removal of the solar panels, it’s wise to order roofing repairs or replacement in advance of adopting solar energy systems into your home’s energy profile. While these upgrades may not be as invasive as an indoor home remodel project, the scope and technical nature of the project may require additional prep work before contractors can get started.
Most PV panels are mounted on south-facing roofs, but roofs with east-west orientations or flat-roofs are acceptable, as installers can position the arrays at optimal angles to maximize exposure to sunlight.
In preparation for installation, consider building a separate utility nook or storage cabinet to house a battery, electrical inverters, and Balance of System (BOS) equipment to integrate the solar modules for use with the home’s existing electrical system. Because solar energy is becoming increasingly affordable, more and more companies are expected to enter the market, bringing new and exciting products and solutions for energy-conscious homeowners. The frontrunner in this department is Tesla’s Powerwall, which will provide 6.4 kWh of home energy storage capacity when consumer models ship in 2017. Designed for use with solar panels, the Powerwall allows homeowners to actively capture solar energy for later use or sell the excess energy back to the grid.
Step 5: Permitting and Rebate Process
Most city utility companies require the following documentation before installation can begin:
- Level 1 Interconnection Application and Agreement for inverter-based generating systems
- Electrical diagram of proposed generating system
- Specifications of inverter
- Application for electrical service (required for use with meters and various state/local production incentive programs)
A qualified solar installer or contractor should have these documents prepared or available to you upon request.
Furthermore, the solar contractor must obtain an electrical permit prior to installation. Your local building or planning department will require an electrical inspection before replacing your old meter with a reverse-power meter.
After installing and implementing a solar energy solution in your home, you should be eligible to receive as much as a 30% credit on your federal income tax bill. Through December 2016, homeowners who invest in an energy efficiency solution will be able to complete IRS Form 5695 – Residential Energy Credits. According to the instructions for the form, qualified applications of the tax credit are for costs related to the following:
“Qualified solar electric property costs are costs for property that uses solar energy to generate electricity for use in your home located in the United States. No costs relating to a solar panel or other property installed as a roof (or portion thereof) will fail to qualify solely because the property constitutes a structural component of the structure on which it is installed. The home does not have to be your main home.”
Your state and local governments, utility companies, and energy efficiency coalitions may offer additional grants, credits, and rebates toward the adoption of solar power in your home. For a complete list of the possible benefits, check the Database of State Incentives for Renewables and Efficiency.
Step 6: Investigate Buyback/Energy Storage Solutions
If you plan to help offset the cost of your solar energy system by selling excess generated power back to the grid, you’ll need a production meter installed and configured by your local electric company.
A production meter measures the amount of electricity generated by an energy source, operating essentially opposite of your standard utility metering system. Production meters connect to your system via the AC disconnect on your solar inverter before passing through the main interconnection breaker on your property.
Utility companies commonly read production meters at the same rate by which they monitor standard meters, sending the homeowner an annual report with information pertaining to the kilowatt-hours produced by your solar energy system. Using that data, you’ll need to complete a yearly application for compensation for excess energy your system provided for the grid. Incentives arrive either in the form of service credits or check by mail.
Among the first consumer-grade electrical storage system was Tesla Motor’s Powerwall, which actively captures and stores solar-generated energy for backup use or daily electrical needs. While other companies are following suit and producing low-cost, high-capacity batteries for solar-powered buildings, Tesla is considered the leader in the still gestating industry. The company estimates each unit will perform at 92% round-trip DC efficiency and initial models will store 7 kWh (about 1/3 the average daily energy used per American household as of 2014). Because residential electrical systems operate on AC power, a converter will be necessary in order to utilize the energy stored by the Powerwall.
Step 7: Finalize Power Efficiency Solutions
As with most energy-efficiency upgrades, adding solar power to your home will only work to maximum efficiency if other aspects of your home are working in concert with your new system.
Some low-impact, DIY projects to put on your list:
- Check each door and window for broken or cracked seals.
- Add a layer of protective window film to further improve energy efficiency indoors.
- Replace your old bulbs with high-efficiency CFL or LEDs.
- Install energy-saving smart thermostats.
- Order a rain barrel to collect excess rainwater for later use.
- Replace air filters in air conditioning and heating systems, vents, and appliances.
- Invest in energy-smart power strips and timers for electronics.
- Add additional insulation to problem or leaky rooms.
- Check your roof and attic for leaks or install ventilation systems to prevent capturing hot air.
Once again, a home energy audit from an energy-efficiency professional will be the best way to analyze and assess the strengths and weaknesses in your home’s energy efficiency standards.
Step 8: Installation and Implementation
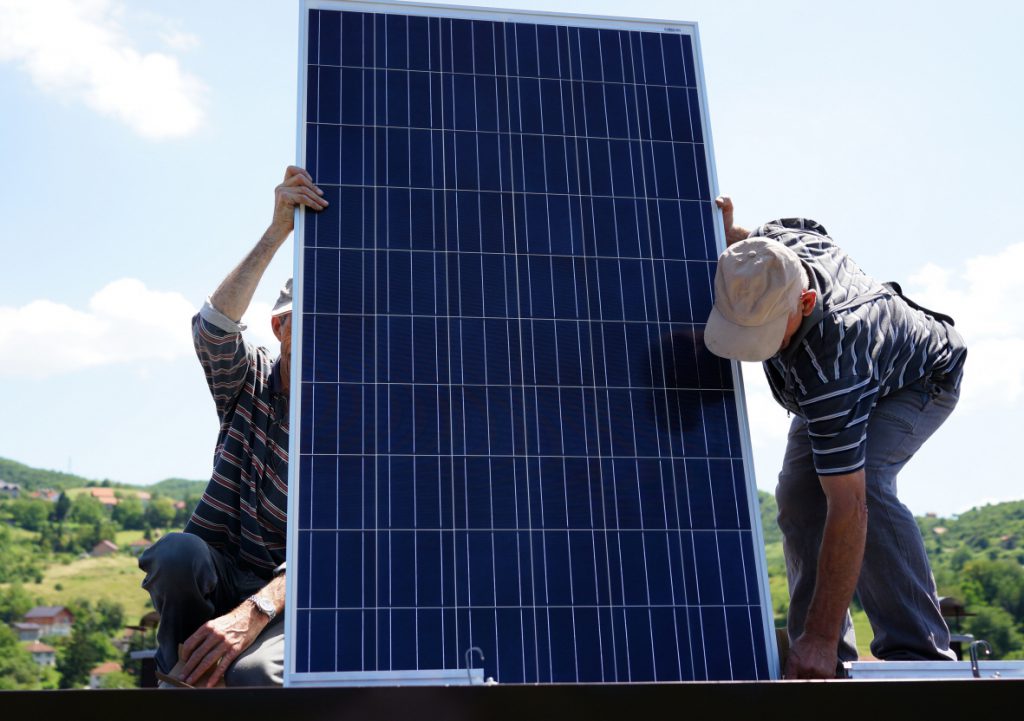
Before installation, your solar energy contractor will assess the following:
- Viability of available solar resources.
- Size of system necessary to meet your home’s average electrical requirements.
- Ideal placement of control system and electrical infrastructure
- Potential for connection to grid or potential for off-the-grid use.
- Safety and reliability standards.
While it’s not unheard of homeowners installing solar electric systems on their own, it’s highly recommended (and sometimes, depending on your location and system of choice, required) that you hire a professional solar installer to oversee the entire project.
When choosing a contractor for your solar power system, consider the following:
- Request separate bids for roof-mounted systems and ground-installed PV solutions.
- Inquire as to the level of experience of the contractor in question. How many solar energy systems have they installed? How often?
- Ask for proof of certification or licensing. Your state’s licensing board should have information regarding each licensed contractor in the industry.
- Check for disciplinary actions or pending complaints against the contractor. The Better Business Bureau and your city government should have information regarding any pending liens or judgments against a company.
- Ask for energy/cost estimates based on the solar resource of each prospective installation site, size/scale of the system, type of PV panels intended for use, and the current conditions of your home’s existing energy efficiency solutions.
Unless your solar electric solution is part of a new, energy-efficient home construction project, chances are you’ll also need a licensed electrician to install and verify a few secondary but critical aspects of your new energy system. Both stand-alone and grid-connected solar energy systems require power conditioning equipment that must be implemented within your home alongside your new PV panels and batteries. For reasons that should be clear, it’s never a good idea to leave electrical work to a handyman or a DIY project. The current requirements for grid-interactive power inverters, known as UL 1741, should serve as a reference point for solar contractors moving forward.
Safety Considerations
Every electrical system is at risk of failure, damage, and deadly surges that must be addressed on a system-by-system basis. According to the National Fire Protection Association and its updated National Electrical Code, renewable solar energy systems should implement the following to ensure safe and continued operation:
- Safety disconnects to protect internal system wiring, allow for safe repairs, and ensure isolation from the grid.
- Grounding equipment that provides a safe, low-resistance path for errand surges, lightning strikes, and equipment malfunctions to discharge into the ground.
- Surge protection equipment to protect electrical gear against lightning strikes and electrical storms.
Step 9: Testing and Analysis
There are several ways to evaluate the efficacy and reliability of your system. First, built-in meters and instruments on your solar control or energy monitoring panels should provide enough information about energy usage, current storage levels, rate of energy generation, and amount of converted energy to date.
Some solar energy systems provide connectivity to third-party smartphone monitoring apps and provide better visual representations of data collected within your home over longer periods of time. Other gadgets such as Nest work seamlessly with modern energy systems, helping to better use and conserve energy, reducing the amount of maintenance required by the homeowner in order to reach maximum efficiency.
Finally, in order to fully understand and appreciate the effectiveness of your solar energy system, you’ll want to keep your old utility bills from the previous year and measure year-to-year comparisons once you’ve had your system operational for a full year. Ordering a home energy audit after installation of your solar energy system will also provide valuable feedback on methods to further improve your home’s efficiency capabilities headed into the next several decades.
The benefits of solar power are clear and costs continue to fall. Is your home prepared for the future of energy? Find a solar installer in your area by visiting the North American Board of Certified Energy Practitioners and begin your journey to true energy independence today.
A Long Term Investment
One final note — choosing solar power for your home is a long term investment. Review.com, a website dedicated to conducting unbiased and in-depth research about products and services, spent six weeks researching 188 contenders, consulting engineers and solar energy experts, and scouring user reviews and publications. They analyzed and compared the following;
- Watts of power
- Efficiency ratings
- Customer service
- Age of the companies
Ultimately, their research culminated in the recommendation of five solar panel companies. In addition to those recommendations there is also a tremendous amount of information to soak up.

newstarrealty.com

